Tag Archives: upcycling

ID bracelet gets a refit

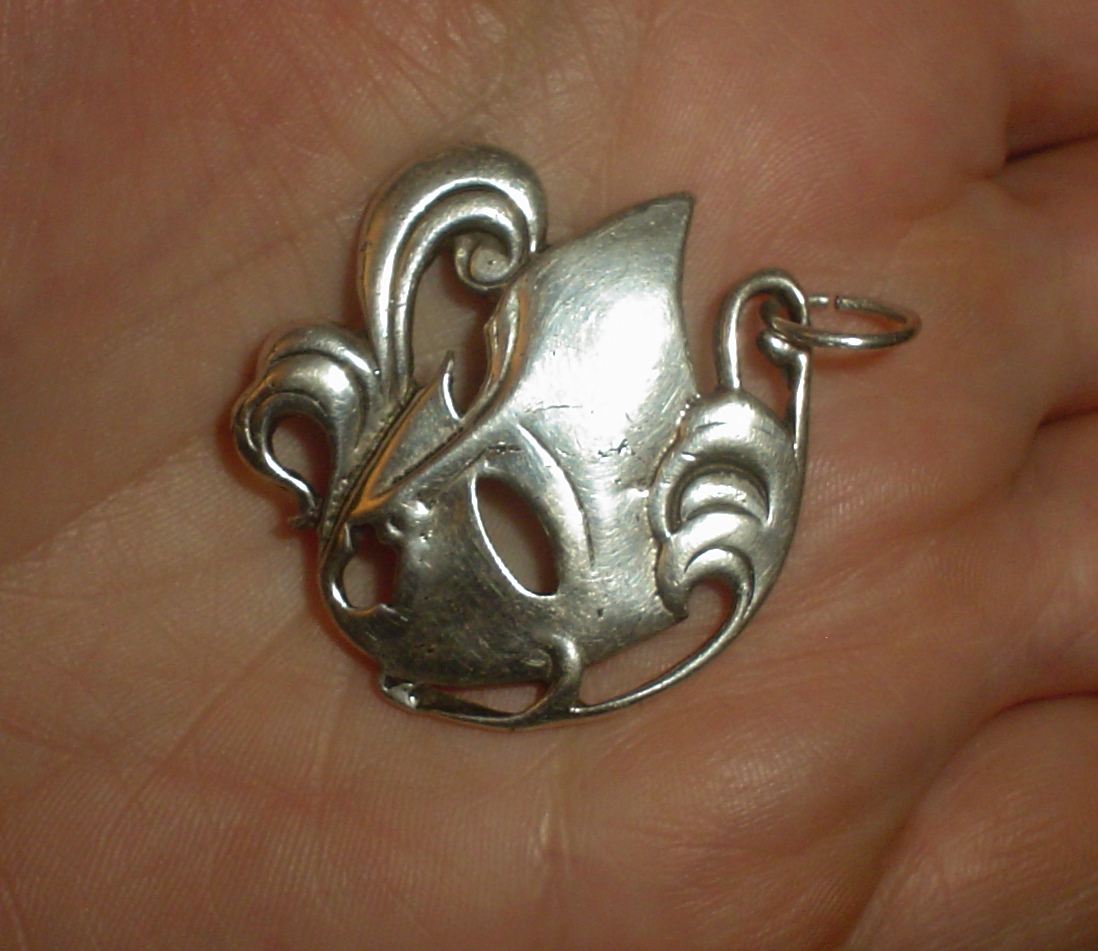
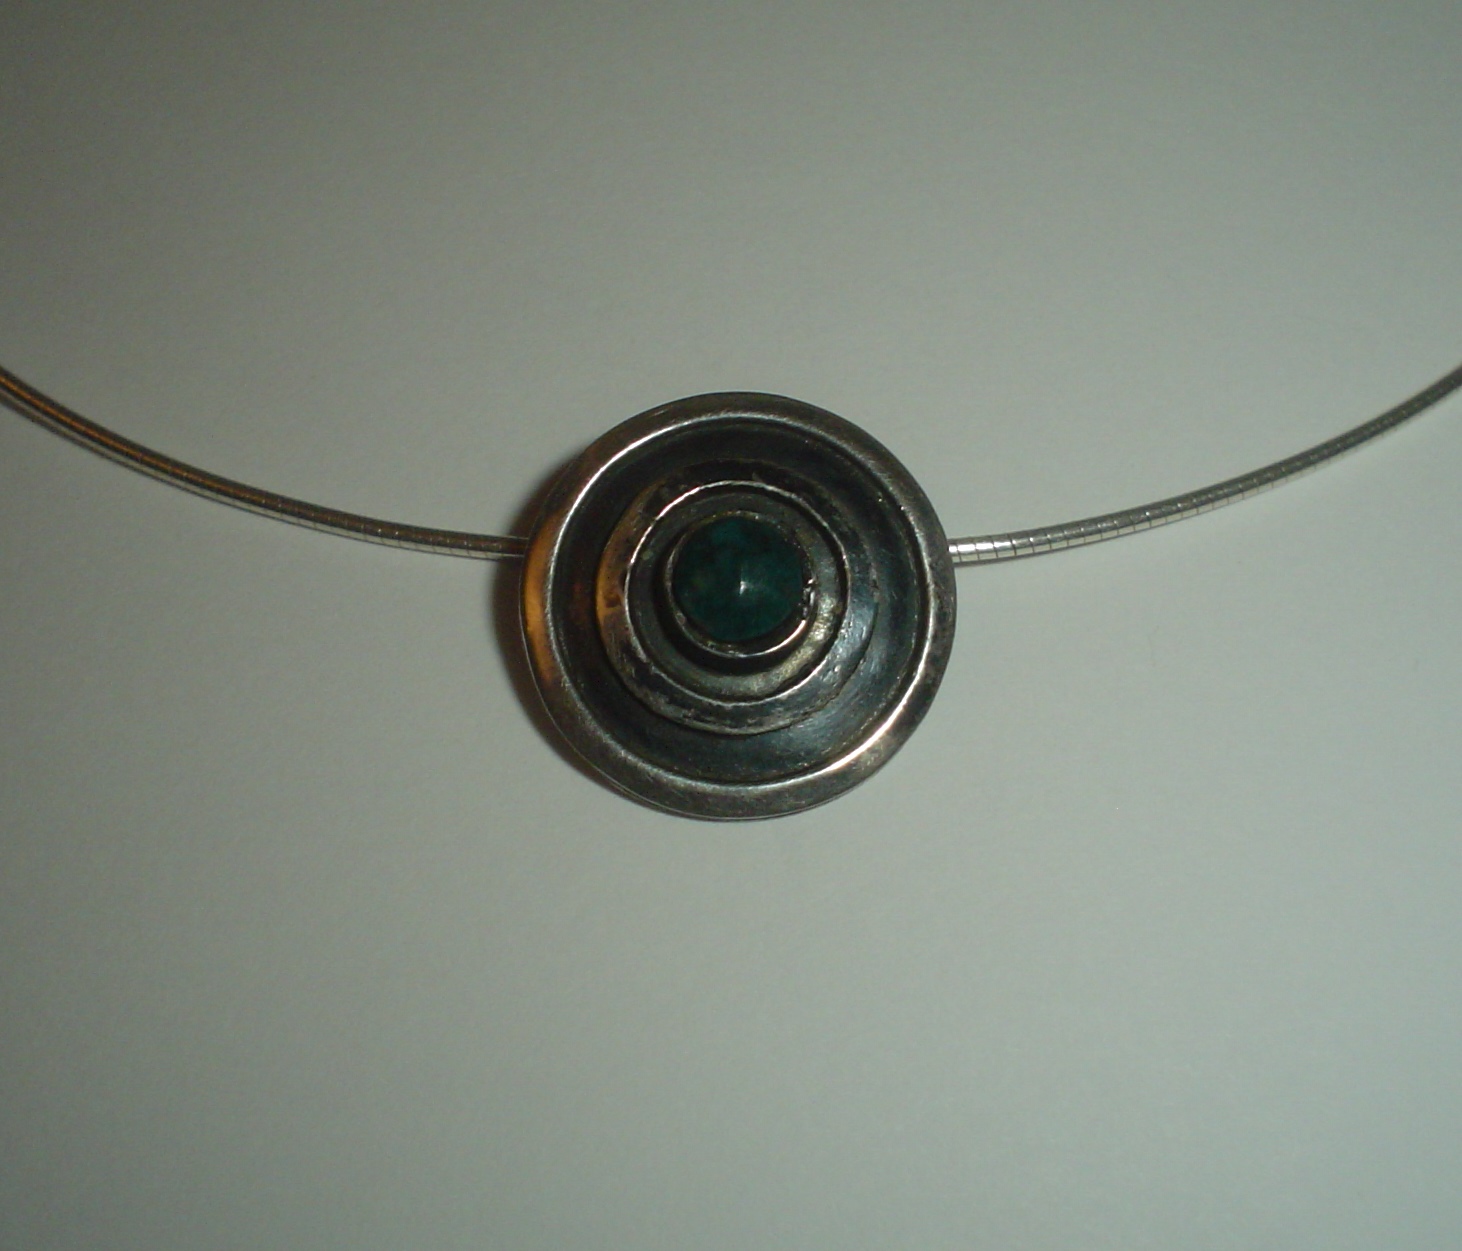
I had a stunningly good day’s hunting in the local charity shops the other day. One of the items I bought was this silver bead thingy, set with a tiny opal. I wanted to create a piece of jewellery out of it and settled on making it into a bracelet.

None of the spare bits of silver chain I had were any good – they were either too flimsy, too short or simply the wrong kind of chain.

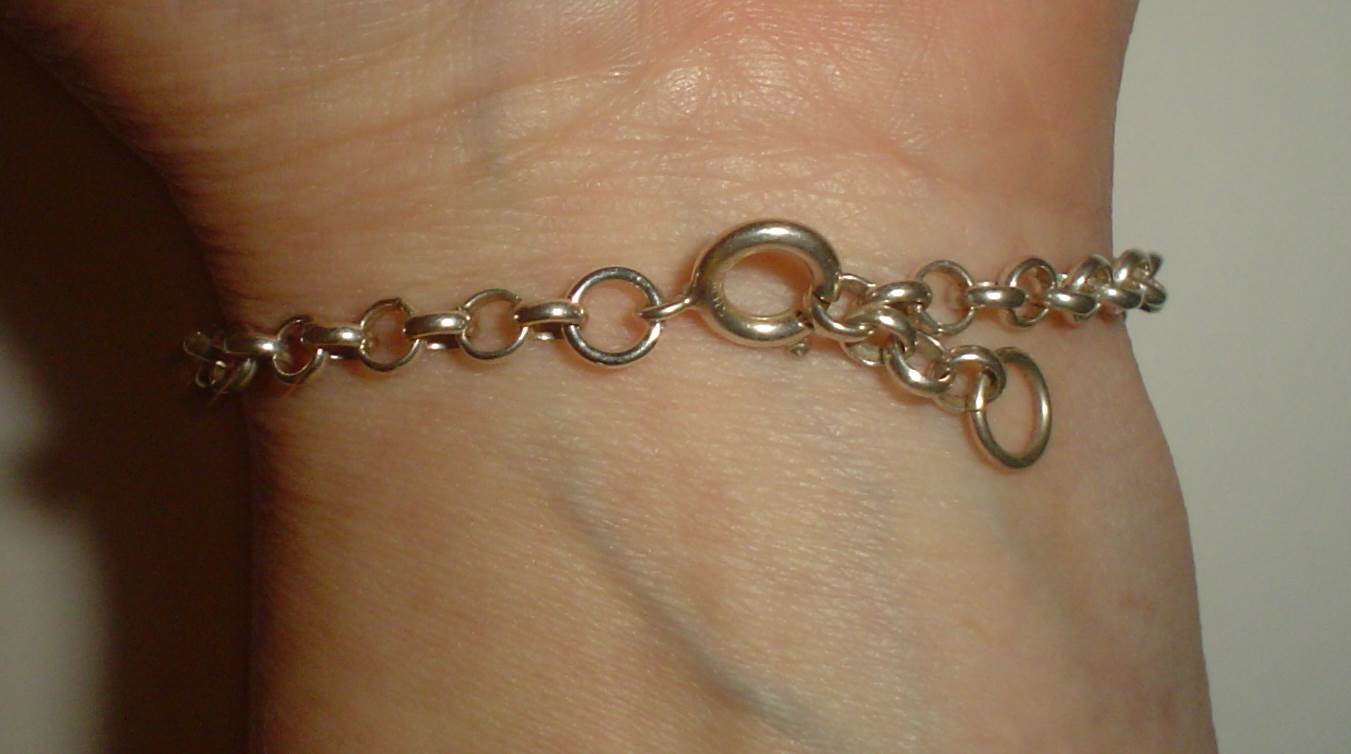
Then I remembered I had this silver ID bracelet:

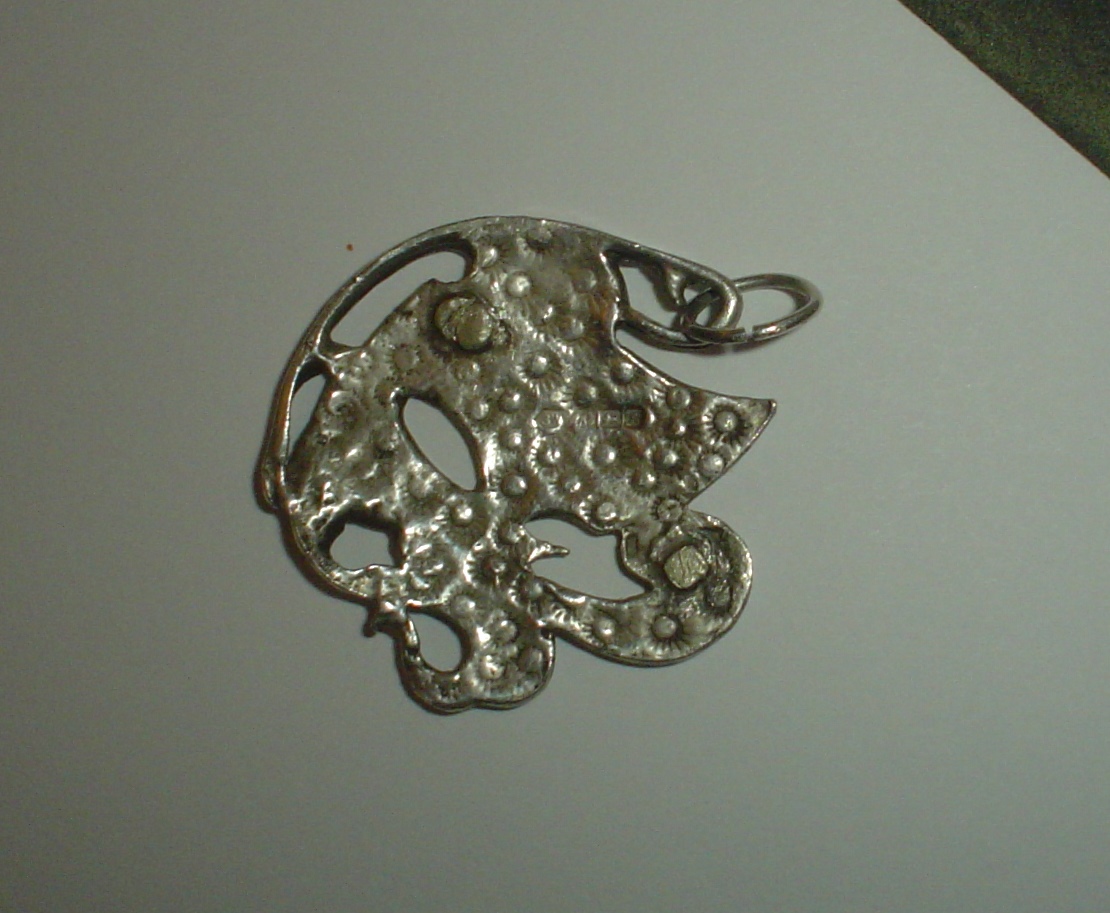
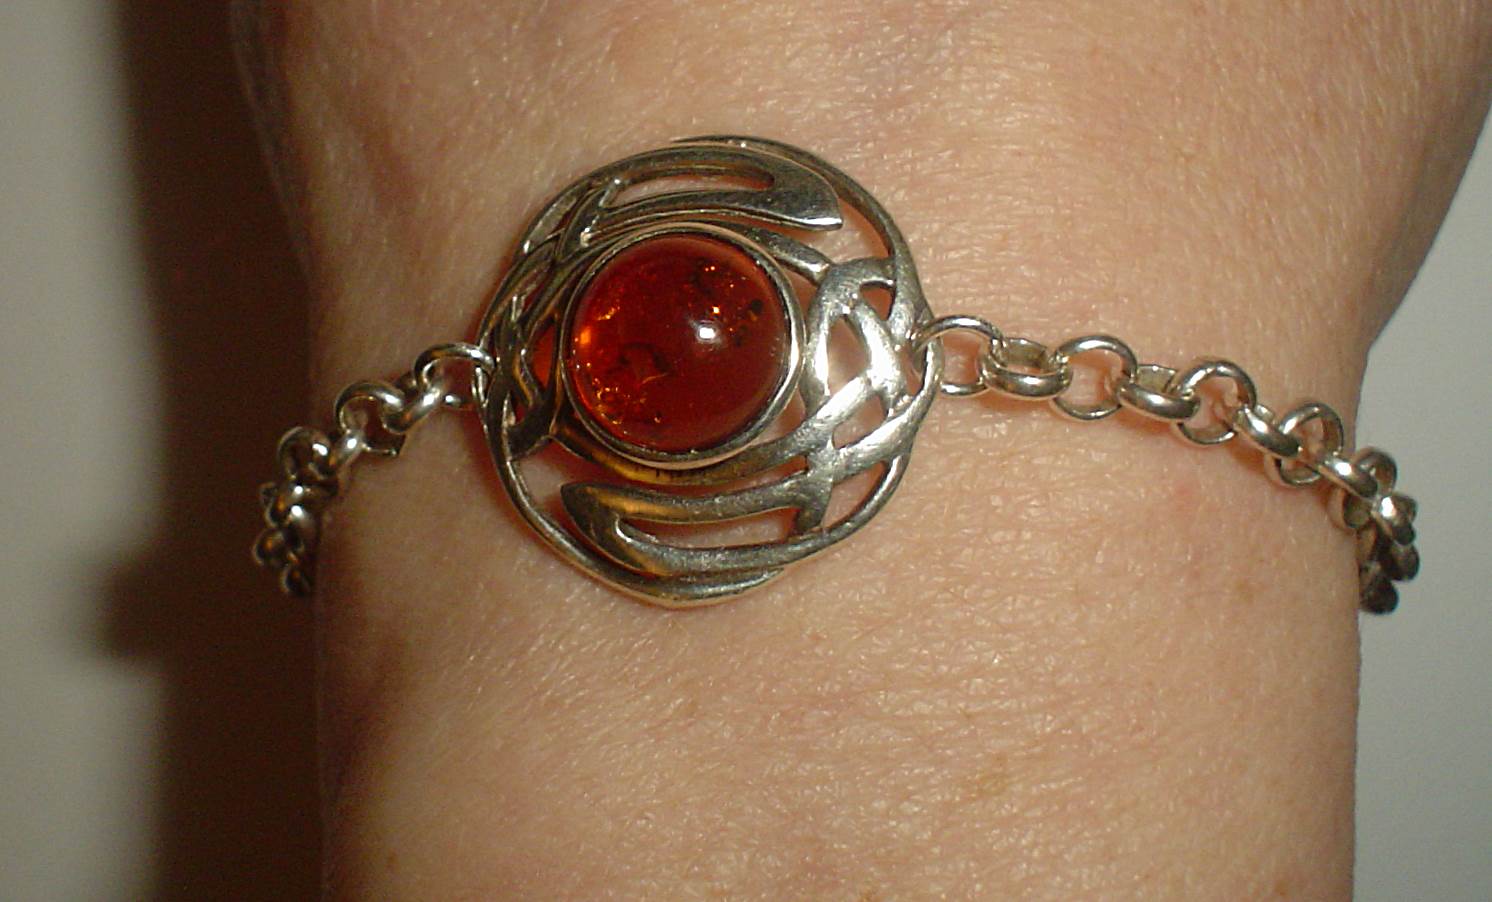
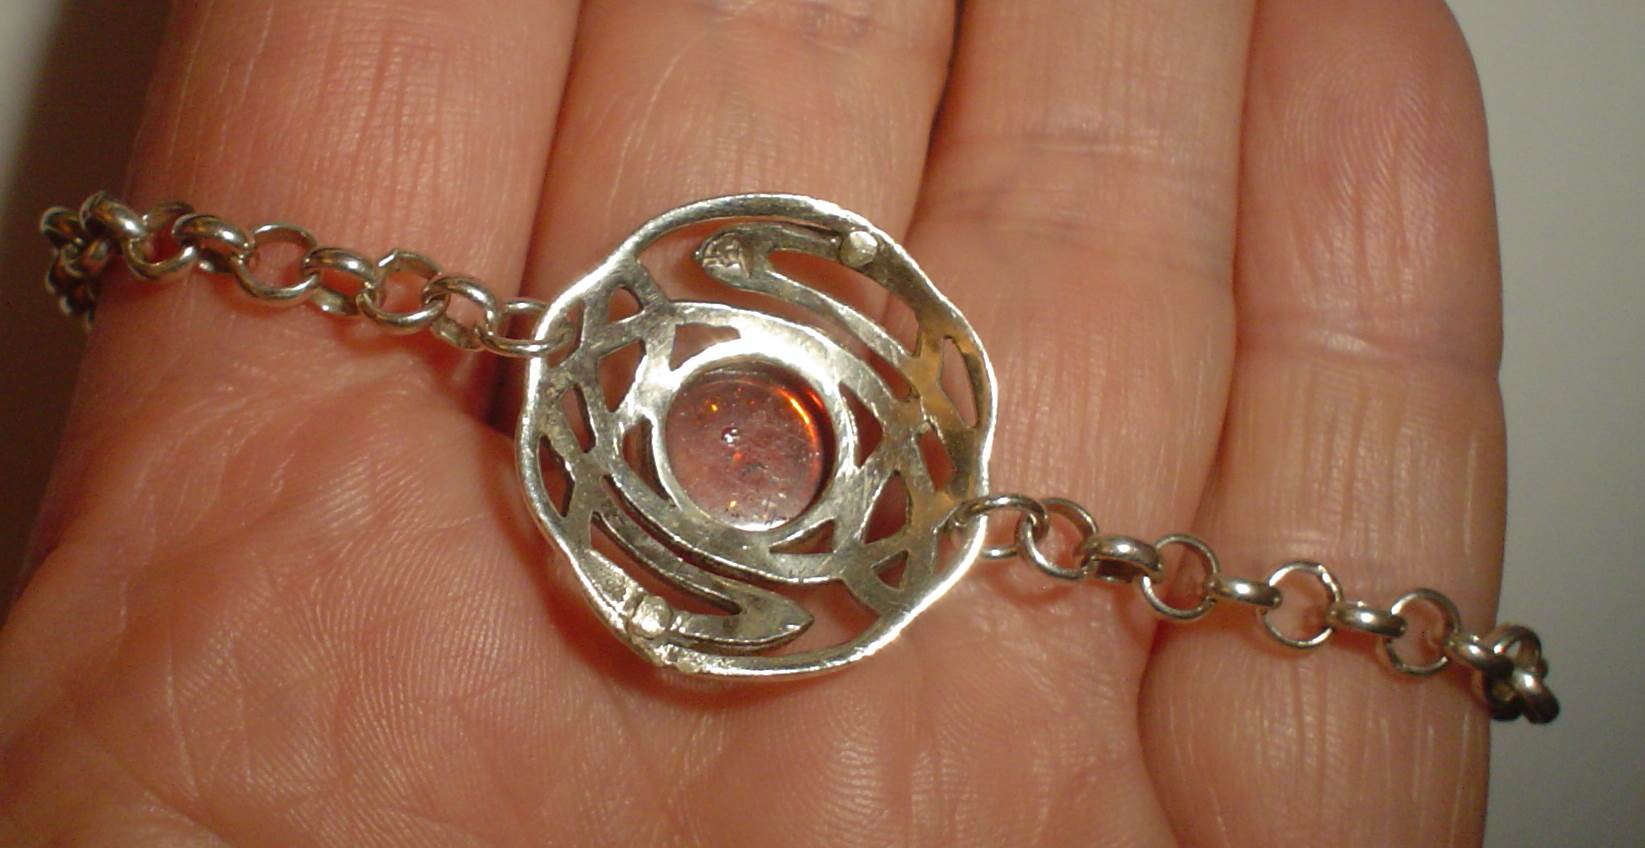
One end of the central panel was starting to detach from the chain and the panel itself was (a) scratched and (b) had a faint, illegible engraving on it, so the bracelet was no good from a reselling point of view. I clipped out the panel and replaced it with my bead, using pairs of jump rings of 2.5 mm diameter and 0.8 mm thickness. It was an extremely fiddly job, but I’m quite pleased with the result:

It can be worn on its own or stacked with other thin bracelets/bangles. Not bad for £1!

Coral necklace upcycling project

I haven’t posted in a while, due mainly to a lack of motivation and a lack of projects to post about! However, I have just finished what for me has been quite a big jewellery project, involving many nights watching Family Guy while passing nylon bead thread through many tiny coral beads.

The jumping off point for the project was this broken homemade necklace:

It’s not clear from the photo how this would have looked when worn (sadly one of the strands was broken otherwise I would have put it on and taken a picture), but it consisted of three different-length strands of coral beads, interspersed with some rather horrid imitation pearls where the pearl finish had worn off, leaving naked plastic behind.

I decided to restring the necklace – again, it would have three strands, but they’d be of equal length and the plastic pearls would no longer feature. I ended up with three strands, each just over 17 inches long. I found four big coral beads to join the strands together; luckily these had huge holes, otherwise I wouldn’t have been able to fit three strands of nylon through them. Finally, I replaced the original gold-plated clasp with a sterling silver one.

This is the result:

As you can see for the last picture, I’ve extended the necklace using 1.2 mm thickness silver jump rings.

I’m pleased with the final result, although I think the necklace is crying out for an enhancer pendant set with turquoise/spiny oyster/pearl, along the lines of pieces by Carolyn Pollack/Relios. It would have to be a HUGE enhancer though. Maybe the charity shop fairy will be kind to me.

Silver mask pendant converted from a brooch

Continuing the theme of jewellery conversions, I’ve just made this sterling silver mask pendant:

… out of a brooch that had once been part of an auction lot. The brooch was unwearable because the rollover clasp had lost its rollover part. This wouldn’t necessarily have been a problem, but the pin was also very loose in its moorings – hence the brooch would fall off almost as soon as you put it on. Below is a picture of the pendant from the back, when it was in fact a brooch:

I knew I had to remove the pin and somehow break off the clasp and mooring. I was able to clip them off using a pair of pliers, but this left a couple of jagged stumps which would have been uncomfortable (and unsafe) to wear next to the skin, and the file I normally use for silver testing wasn’t really up to the job. Imagine my joy when last week I found a metal file for 20p in a charity shop. This file (see bottom picture) did a great job of sanding down the stumps, although it did take about half an hour of continuous work to do it. Anyway, I’m sure the file will play a key role in future jewellery mini-projects like this one.

An earring to pendant conversion

A while back I found a round post earring in a charity shop. It was a single earring so therefore not the most easy thing to sell on. Also, I don’t wear earrings so if I wanted to actually wear this, I’d have to convert it to something else. So I hit on the idea of turning it into a pendant, like this:

All I had to do was gently bend the post at the back using a pair of chain nose pliers, to form a bale (see below for pic showing the back of the earring). The great thing about this particular pendant is its hidden bale, which means that the pendant doesn’t hang far below the level of the necklace/chain; you can therefore wear it with high-necked tops without worrying whether it’s going to disappear below your neckline. Winner.

This isn’t the only earring to pendant conversion I’ve done in this way – I will dig out the other one and put it on here some time.

Broken amber earring is now… a bracelet

I debated whether or not to turn the broken amber and silver earring into a pendant, but couldn’t find a suitable jump ring (it needed a flattened, oval one rather than a round one IMO). So I hit on the idea of turning it into a bracelet. I had to break off the silver “pad” that would have been opposite the bit of the clip that clamps down on your earlobe. (This needed some care as silver is a soft metal and it was hard to make the pad shear off without distorting the rest of the earring. I just about managed it though.)

Then I filed down the two stumps where the pad had been and where the clip had broken off. I found a fine gauge silver charm bracelet, cut it in half, removed a few of the links on each of the two halves, and inserted the earring in the middle using a couple of small 0.8 mm gauge silver jump rings. Voilà!

Update: the 0.8 mm jump rings turned out to be too flimsy (nearly lost the bracelet while out shopping), so I substituted a pair of 1.0 mm jump rings instead.

Oops. What to do with broken amber earring?

It’s been a while since I’ve posted here – I’ve been busy and my Etsy shop has been doing better than it’s ever done before, so all my efforts have been concentrated there. Now it’s February, and sales have gone down. They always do go down in February. My theory is that the buying public is still spending money in January, because they have an Etsy gift card, or a cash gift from Aunt Jane to use up. Come February, the gift cards are just a memory and people realise that yes, they really do owe that much on their credit card and any discretionary spending is going to have to wait till payday.

This month I had a rare trip to Canterbury to browse the local charity shops. I like going to Canterbury, but its charity shops – while great to browse around – don’t tend to yield that much in the way of affordable shop items. I was however delighted to find these Celtic beauties, made from sterling silver and amber:

On getting them home, I noticed that the clip was misaligned on one of the earrings, so I tried gently bending it to get it in place. Sadly, it snapped right off, leaving a stump. Oops.

I will have to think about what I want to do with the broken earring, because it’s too nice to scrap.

Blue John pendant… reborn as a necklace

I bought a small auction lot of pendants recently. One of the pendants consisted of a Blue John stone set in a silver mount. (Blue John is a distinctive purple fluorite stone found in a certain part of Derbyshire, and jewellery made with it is quite sought after.) It was only when I looked closely that I realised the bale was actually broken – someone had crushed it and the top had split. You can just about see this in the photo:

I thought it would be a shame to consign this sweet little pendant to the scrap heap. What’s more, I would like to eventually make a profit out of the items in the lot, so I converted the pendant into a necklace. I cut the bale off, used a file to smooth the place where it had been removed, and then attached some silver chain. And here is the result:

Have now listed it in my Etsy shop. Hopefully soon someone will find that they can’t live without it.

Mookaite necklace: upcycling project in waiting

I found this rather lovely necklace in the Pilgrim’s Hospice today – it cost me all of £1:

I’m pretty sure the big beads are all made of mookaite, a type of jasper that is mined in Australia. I adore the big, pebbly beads with their smooth surface and warm shades of plum and gold. However, I’m not keen on the small chips or the goldtone spacer beads. So I’m thinking that the big beads could be made into a Lola Rose-esque bracelet (or maybe even two bracelets). I already have the waxed cotton cord, so I’m good to go. And all for a quid.

Micromosaic panel part 2: now it’s a bracelet!

In my last post, I described a single micromosaic panel that I’d found, which had once been part of a bracelet. Now it’s been reborn as another bracelet, with the help of a bit of metal wire (salvaged from an earring) and some waxed cord.

I cut a length of the wire and made it into an oval jump ring using chain nose pliers. Then I slotted the jump ring into the C-shaped tube at one end of the panel, and squeezed the C-shaped tube shut with the pliers. Now there were loops at both ends of the panel, and I could then thread lengths of waxed cord through each loop and then use more cord to knot up the fastening. I’m not that great at knotting – it’s something that I need practice at. But it does the job.

Micromosaic panel: a small piece of Italy

Last week, I spent 50p on this rather lovely fragment of micromosaic that I found in a charity shop on Northdown Road:

Once upon a time, it would have formed part of a bracelet with several more identical panels of micromosaic. But sadly these have all been lost.

One end has a loop, while the other is a sort of elongated C-shape that would have hooked onto the loop of the next panel. If I could convert this end into another loop, I’d be able to thread some waxed cord through both ends and thus create another bracelet out of just this one piece. If I’m successful, there will be another post and more pictures.