Category Archives: bracelets

ID bracelet gets a refit

I had a stunningly good day’s hunting in the local charity shops the other day. One of the items I bought was this silver bead thingy, set with a tiny opal. I wanted to create a piece of jewellery out of it and settled on making it into a bracelet.

None of the spare bits of silver chain I had were any good – they were either too flimsy, too short or simply the wrong kind of chain.

Then I remembered I had this silver ID bracelet:

One end of the central panel was starting to detach from the chain and the panel itself was (a) scratched and (b) had a faint, illegible engraving on it, so the bracelet was no good from a reselling point of view. I clipped out the panel and replaced it with my bead, using pairs of jump rings of 2.5 mm diameter and 0.8 mm thickness. It was an extremely fiddly job, but I’m quite pleased with the result:

It can be worn on its own or stacked with other thin bracelets/bangles. Not bad for £1!

Flat pressed flower charm with sterling back

I found this charm for 50 p in a charity shop the other day. It’s made from real pressed flowers under a clear resin dome, and the backing is stamped with “silver”. It’s really pretty but probably not worth listing in my Etsy shop, because whatever I could realistically charge for it would be eaten up by Etsy’s fees pretty soon – gone are the days when Etsy was way cheaper than eBay.

So what to do with this sweet little vintage charm? For now, I’ve stashed it away with a collection of flat charms that I have – mostly spinners, coins and town crests. At some stage I will “build” a charm bracelet out of them: a charm made entirely with two-dimensional charms.

Pink perfection – Lola Rose bracelet, Buch and Deichmann bangles, & N.E. From silver ring

I bought the Lola Rose bracelet first, several years ago. It was part of a bundle of Lola Rose stuff that I found in a local charity shop. Since then I’ve sold most of the other items on but I kept this rose quartz heart bracelet, because I love rose quartz. Then a few months back I came across two pink Buch and Deichmann bangles. B+D is a Danish company that now makes eyewear, but back in the ’70s and ’80s they sold a range of attractive jewellery and hair accessories. Designed by Ketty Dalsgaard, these were made of nylon in a range of gorgeous colours, and were lightweight and tactile. The colour of the bangles is the perfect match for the bracelet, and they all sit happily on the wrist without clanking or scratching each other.

To complete the pink ensemble shown in the pic, the silver and rose quartz ring is by another Danish designer, Niels Erik From. I bought this in another local charity shop for £1. Yes, £1. You don’t get bargains like that very often.

Turquoise nugget bracelet made with wire loops

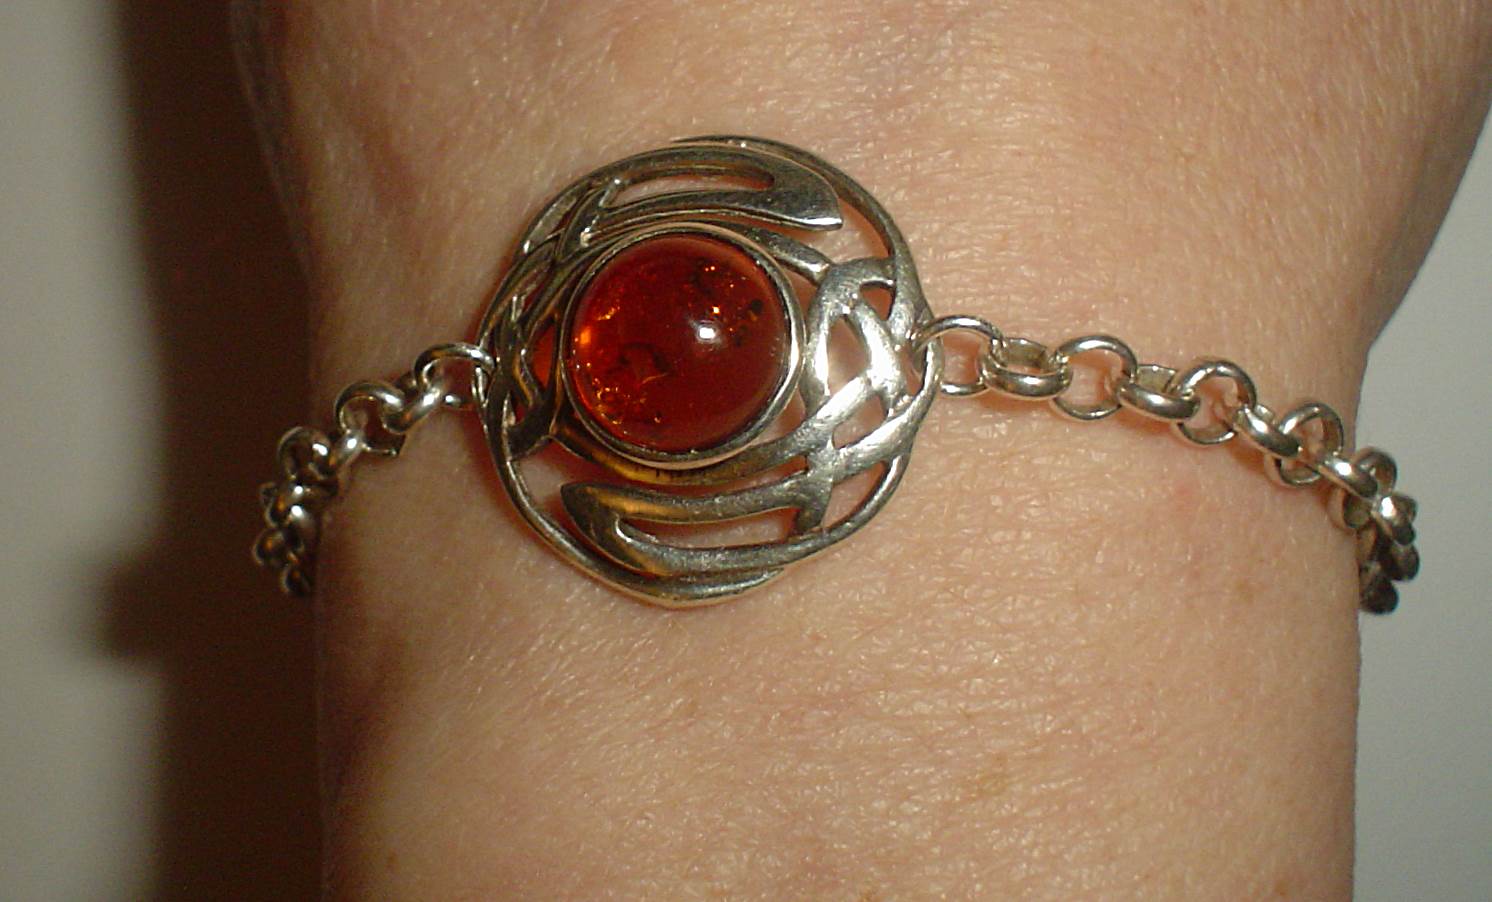
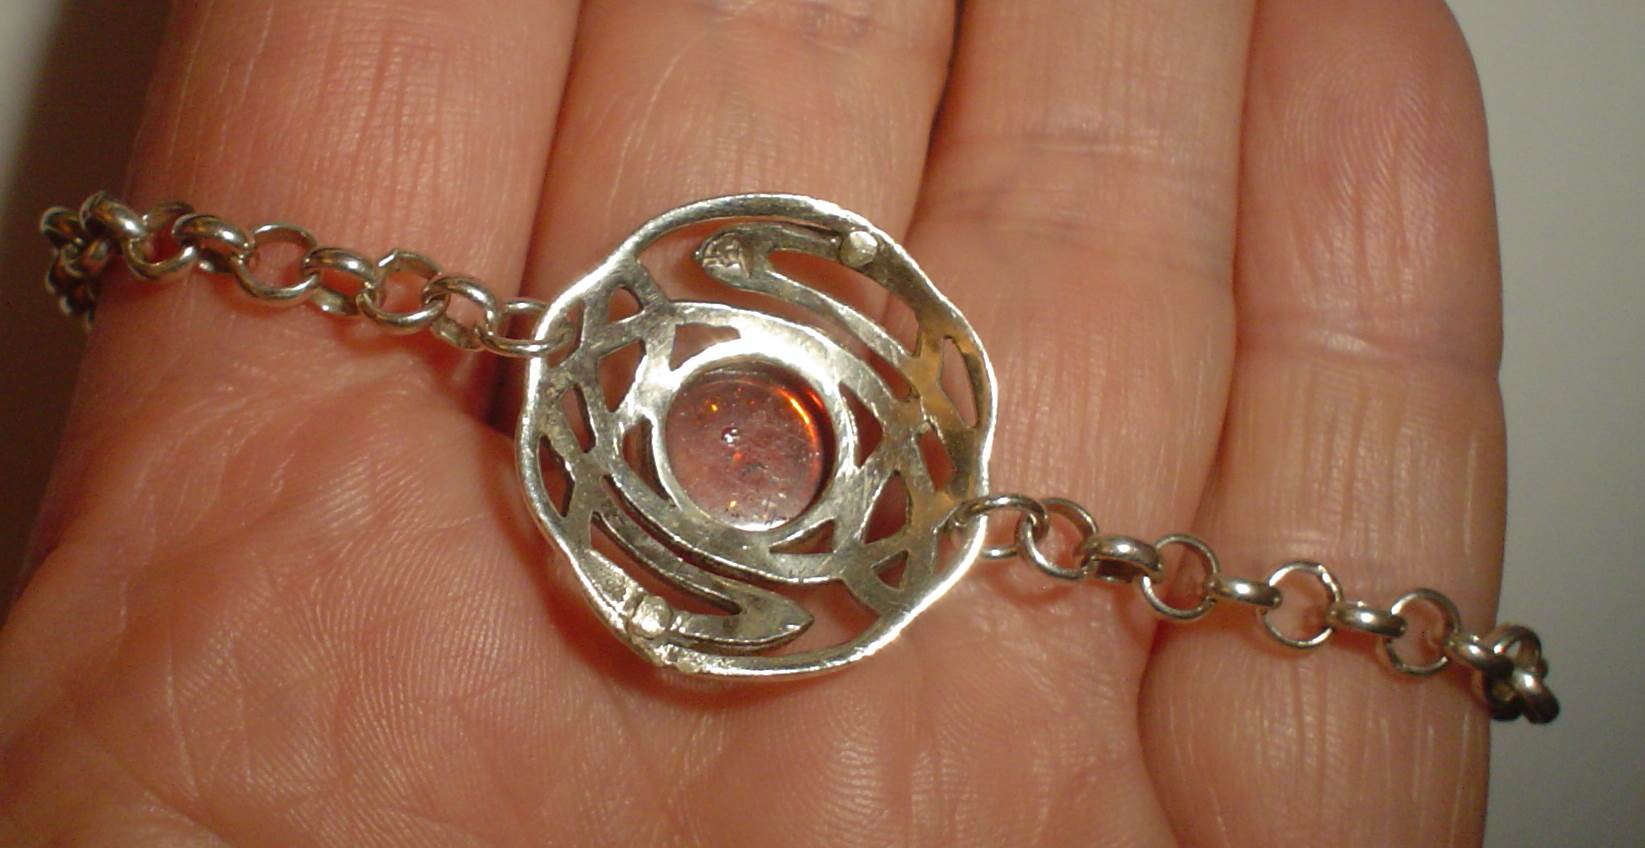
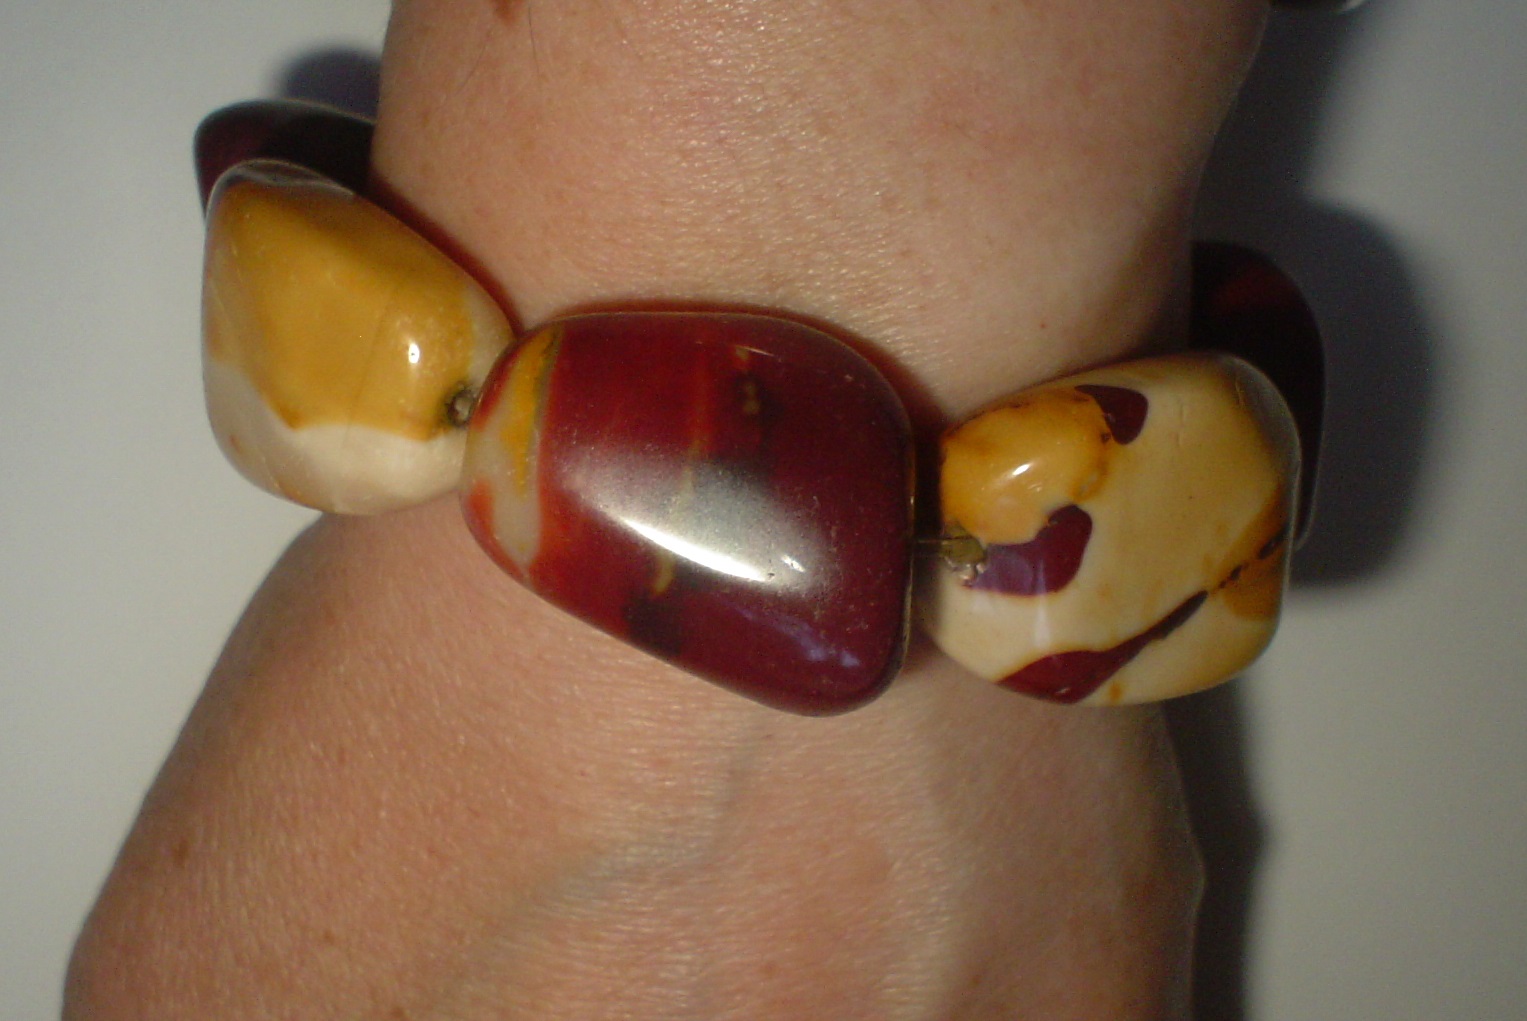
One of the boxes of bits I won at my local auction some time last year contained some small bags of beads, including coral and some rather lovely turquoise nuggets. I wanted to thread these onto waxed cord, but the cord was too thick to thread through the holes. Last week, I finally got round to buying some silver wire. This bracelet is my first ever attempt at using silver wire to create beaded jewellery:

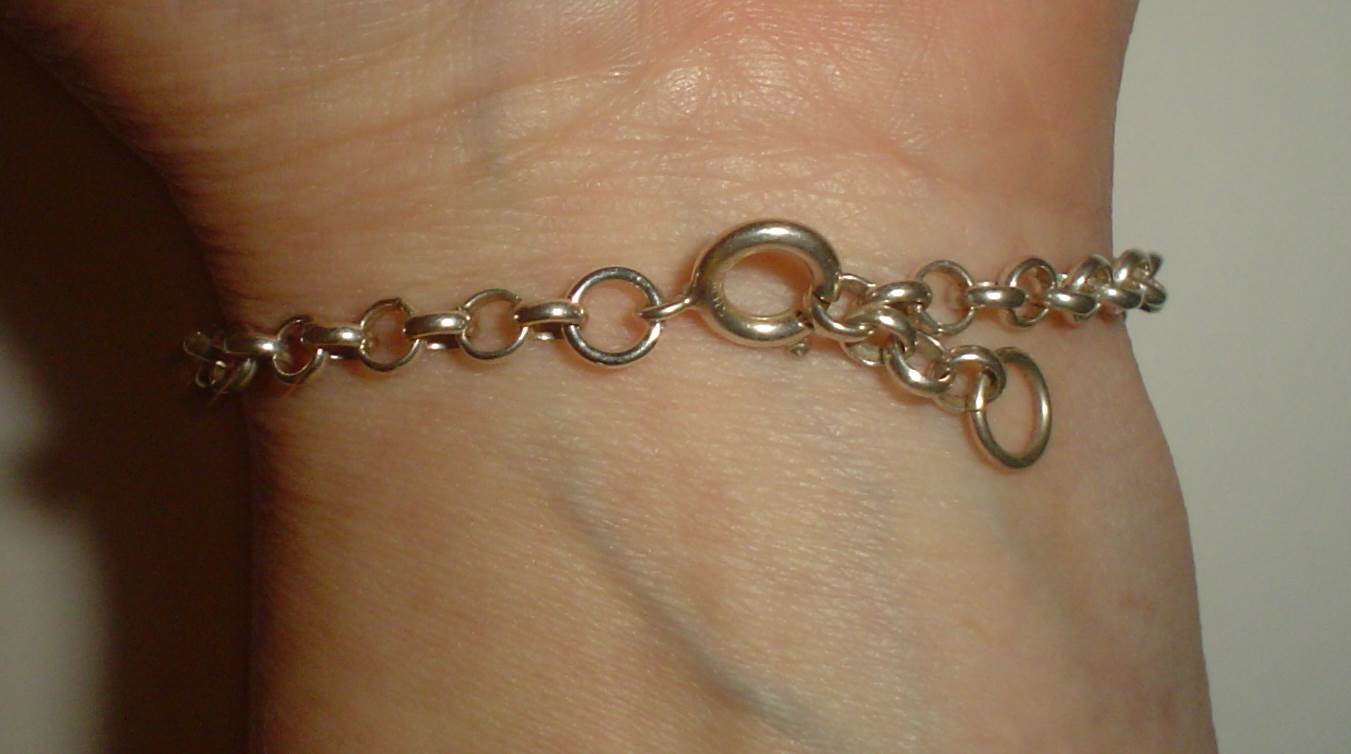
The wire I bought was 22 gauge, which is 0.64 mm in diameter. It turned out to be just the right thickness for the project – sturdy without being too rigid. I used some 1 mm thick, 3 mm diameter jump rings to extend the length a bit, and added a lobster clasp that I’d salvaged from a broken silver chain. Not being that up on beading terminology it took me a while to find a useful set of instructions on the internet, but this page proved to be quite helpful:

http://www.rosarymakersguide.org/plierswires.htm

You would need to scroll down to the section entitled “Make a Wire Rosary”, and go from there. I found I had to experiment with the length of wire that was to form the loops on each end of the beads – 7 or 8 mm was about right; any more, and the loops looked a bit too “leggy”.

The bracelet looks great on its own, or when stacked with some silver bangles:

This is another useful set of instructions:

https://crafts.tutsplus.com/tutorials/how-to-loop-headpins-and-eyepins-to-make-beaded-jewellery–cms-20973

It uses ready made eyepins (pieces of wire which come with a loop at one end), rather than making all the loops from scratch.

And finally, here’s another:

https://www.artbeads.com/design-studio/make-a-simple-loop/

Actually this one’s the best of the lot, because the pictures are so much clearer.

Anyway, I had fun doing this bracelet … as much fun as you can have anyway, when the temperature in your living room is 27.5 deg. C and you don’t have air conditioning.

Broken amber earring is now… a bracelet

I debated whether or not to turn the broken amber and silver earring into a pendant, but couldn’t find a suitable jump ring (it needed a flattened, oval one rather than a round one IMO). So I hit on the idea of turning it into a bracelet. I had to break off the silver “pad” that would have been opposite the bit of the clip that clamps down on your earlobe. (This needed some care as silver is a soft metal and it was hard to make the pad shear off without distorting the rest of the earring. I just about managed it though.)

Then I filed down the two stumps where the pad had been and where the clip had broken off. I found a fine gauge silver charm bracelet, cut it in half, removed a few of the links on each of the two halves, and inserted the earring in the middle using a couple of small 0.8 mm gauge silver jump rings. Voilà!

Update: the 0.8 mm jump rings turned out to be too flimsy (nearly lost the bracelet while out shopping), so I substituted a pair of 1.0 mm jump rings instead.

Repair job: silver bracelet with hollow dangle charm

I paid £5 for this lovely hallmarked silver thing in a local charity shop the other day:

It almost certainly started life as a bracelet, but the fastener was absent. So I dug around in my box of bits, and found a toggle clasp. This clasp originally came off a Dower and Hall necklace that fell apart as soon as I got it home from the charity shop. It’s also hallmarked and has a nice, organic shape (rosebud finials!) that goes well with the bracelet. I used a couple of sturdy jump rings to attach the toggle, and now I’ve got a functional bracelet:

I’m still a bit puzzled by the bracelet’s age. The overall design and the style of the hallmark makes me think Victorian/Edwardian, but I can’t read the date letter – looks like a very worn “p” or maybe a Q. The rest of the hallmark is lion passant, leopard’s head (London) and maker’s initials GLC or GLG. Any suggestions as to who this is and when they were plying their craft are most welcome.

Micromosaic panel part 2: now it’s a bracelet!

In my last post, I described a single micromosaic panel that I’d found, which had once been part of a bracelet. Now it’s been reborn as another bracelet, with the help of a bit of metal wire (salvaged from an earring) and some waxed cord.

I cut a length of the wire and made it into an oval jump ring using chain nose pliers. Then I slotted the jump ring into the C-shaped tube at one end of the panel, and squeezed the C-shaped tube shut with the pliers. Now there were loops at both ends of the panel, and I could then thread lengths of waxed cord through each loop and then use more cord to knot up the fastening. I’m not that great at knotting – it’s something that I need practice at. But it does the job.

Micromosaic panel: a small piece of Italy

Last week, I spent 50p on this rather lovely fragment of micromosaic that I found in a charity shop on Northdown Road:

Once upon a time, it would have formed part of a bracelet with several more identical panels of micromosaic. But sadly these have all been lost.

One end has a loop, while the other is a sort of elongated C-shape that would have hooked onto the loop of the next panel. If I could convert this end into another loop, I’d be able to thread some waxed cord through both ends and thus create another bracelet out of just this one piece. If I’m successful, there will be another post and more pictures.

Adventures in silver testing part 2: the bangle


I didn’t even need to get my testing kit out for this one. Well, I did need the file but the silver testing solution proved to be unnecessary. This piece of “silver” jewellery was £5 in one of my local charity shops. The shop thought it was silver and was selling it as such, but I wasn’t sure. Still, £5 isn’t much and even if my buy turned out to be rubbish, I was still helping the Pilgrim’s Hospice.

I got the bangle home and rubbed it with the file, only to find that underneath the thin plating of silver, it was made of purest copper:

You can’t win ’em all, I suppose.